Showing posts with label crafts. Show all posts

5/4/14

Planet Activity

Lights ~ Ornaments ~ Planets!

Not quite sure how I stumbled upon this post from Play At Home Mom (http://www.playathomemomllc.com/2014/04/outer-space-orbit/ )
But, I followed her links to Amazon, purchased the globes and the lights, and today dragged it all out along with paints.

Perfect timing, as they finished learning the phases of the moon (because of the blood moon) and planets at school over the last 2 weeks.

We all had fun trying to make our visions come to life.  The 4 year old basically wanted them all blue, I talked him out of it, and we got a silver, red and pink one out of him.


a 
 You'll need Paint - we had a lot on hand in our art cabinet. Some of the tempura (silver) didn't stick well, sort of separated..but it looked cool when it dried.


You'll need these globes (which can be found at JoAnne's or Amazon.com)
ours came in a 12 pack
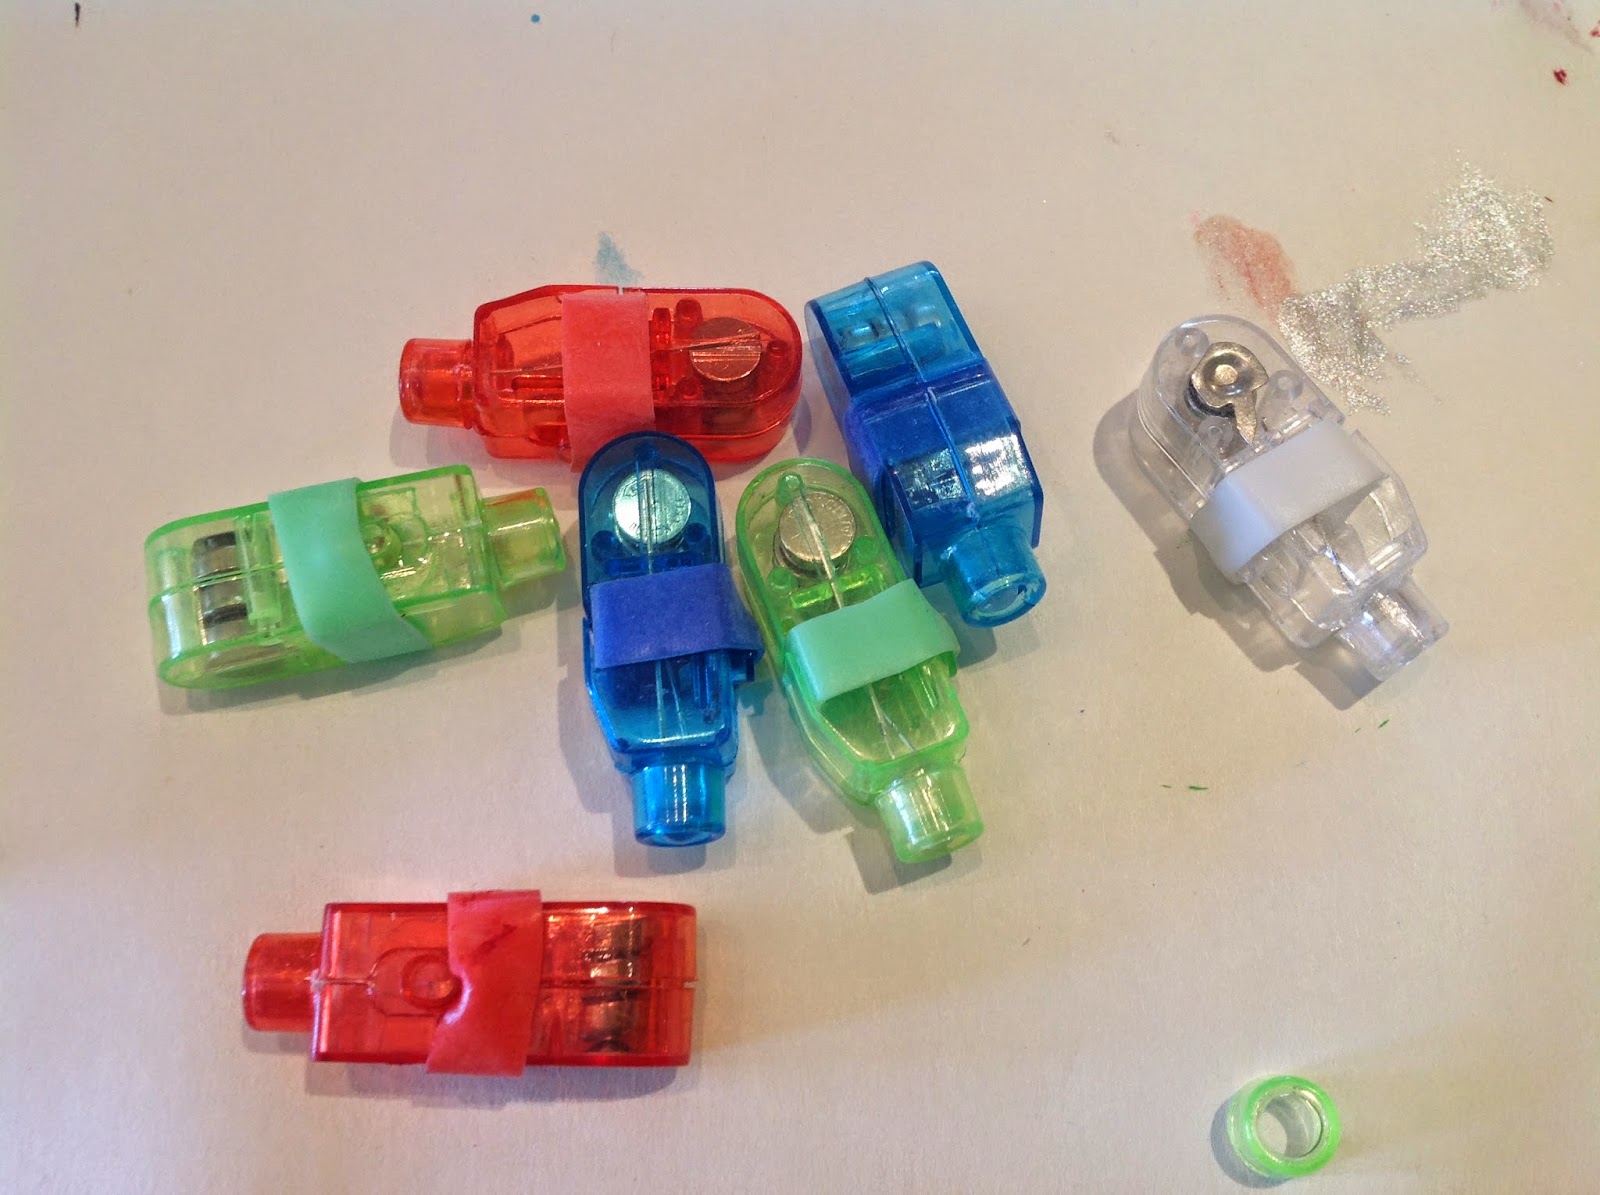
Then we bought these finger lights (half didn't work, but they were only about $3 so no complaints)


Paint, allow to dry.
Place a turned on light in globe, see planet come to life.


The 7 year old was focused on making his "look like planets" naming each one... Earth, Mars, Tatoine (ok that one is Star Wars related)
We had a great time making these, hope you do too.

1/22/14

Wild Kratts Creature Power Suit.


Have you heard of a show called Wild Kratts?
It is quite my favorite kids show, viewable on PBS, PBSkids.org 
if you haven't seen it, give it a gander.


My inspiration found on Etsy, alas it was discontinued :(  http://www.etsy.com/listing/103537722/discontinued-set-wild-kratt-inspired

Creature Power Suits!

I made a promise to my boys that I would make them Wild Kratts Creature Power Suits.  I dragged my feet, because I am not a huge sew-er.


Today I finally went over to Hobby Lobby and purchased some Polar Fleece (30% off!) ~ 2 yards of Black, 1/2 yard each of Blue, Green.  Probably could've done with just 1 yard of the black.

 Then I grabbed a shirt that I know fits my oldest and my youngest.  I snipped the fleece at the fold at the shoulder marks and at the bottom edges, then cut straight down to match.  After that I laid the red t-shirt under the cut fleece and cut the arms out.  
  
The only place I truly free cut was the neck line, and it worked out fine. As you see the only place you need to sew are the sides. 
After cutting the sides, I snipped out 2 large squares, 2 small squares, 
2 large rectangles and 2 small rectangles

  Then you'll need to cut 1 large and 3 small circles.  Again, I just free cut this, as it is only a costume, play dress up item, perfection was not my goal


 The green shown is finished, and the blue was in progress.  I hand sewed the small circles on because I wasn't thinking and waited until the sides were sewn to place them on. 
I'd recommend sewing the circles on with your machine before closing the seems on the vest.  It will make your life tremendously easier.

Also, this is VERY easy to hand stitch, as, I finished the blue one at their karate classes this afternoon.

 Sew on 1 square of velcro in the middle (pictured below) of the circle, and then add the opposing velcro to the back of the creature power discs, then they can change their characters easily!

My 2 very happy boys in their new creature suits.
Supplies = $19
All in all, a 2.5 hour project that put the best smiles on my boys.  Worth it.

9/22/13

Monster House

Monster House

I decided to make our house into a monster house today.  It was something I had seen on pinterest.  We bought 75% of our supplies from Michaels with 20% entire order coupon.  The foam (20" x 30") were 2 for $3, and I had the paint and duct tape we had at home.


I taped 2.5 pieces of the foam together with clear packing tape.  Then I drew the outline on with pencil. With an x acto knife to cut out the teeth.  I'm not going to lie, it was a pain in the ass.  I hope to never try doing that again.

In the end, I was decently ok with the result.  It obviously does not look like the perfection of the pin, but hey, I didn't have plywood and someone to hang the stuff up for me.

The kids liked it. That, in the end, is all that counts.


Original pin (web link http://sublime-decor.com/2013/07/30/decorate-your-front-entry-way-as-a-monster-for-halloween/)


8/7/13

Pinterest Again.

The link for the project is below.  I found in on Pinterest a while back and finally completed it.

http://www.muyingenioso.com/tablon-de-notas-con-salvamanteles-de-ikea/


I used Tacky Glue & Quilting squares from Joann's.
The cork circles were a 3 pack from Ikea.


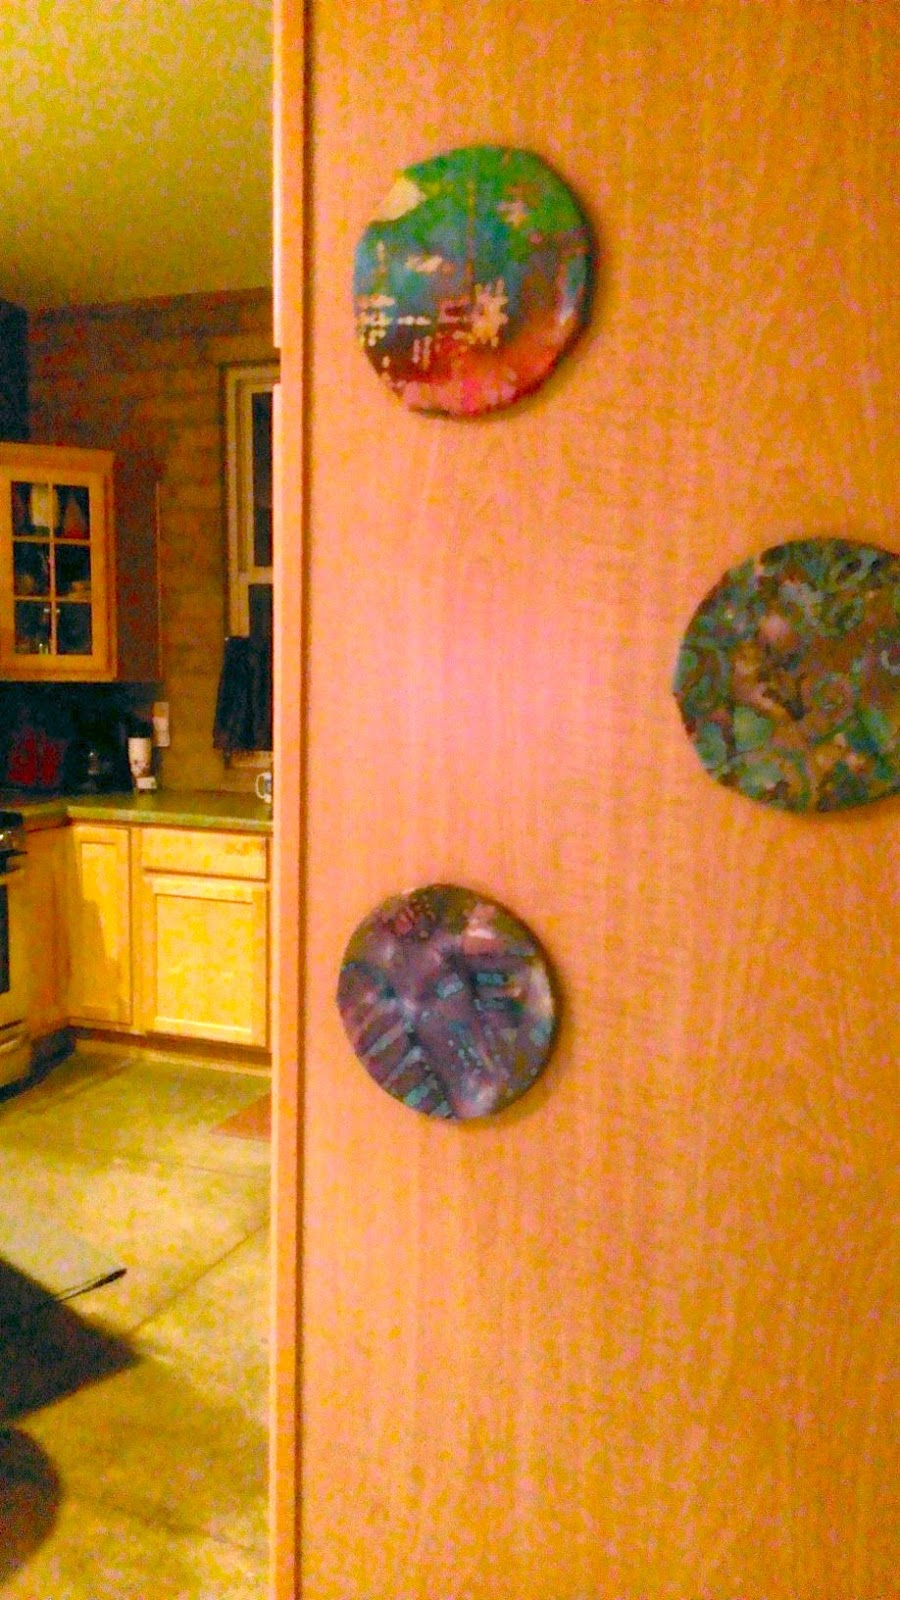
    Then I used the command strips to hang them on the side of my cabinet in the kitchen.  Pretty and a convenient place to post the kids art work.


There was some sort of error and the second post was lost. :(

8/5/13

Pinterest in real life

Last weekend I decided to open up my Pinterest boards and find stuff for the kids to do.
We made puff paint, 1/2 cup flour, 1/2 cup salt, 1/2 cup water
Then add your tempura paint or food coloring.

It worked.. But I suggest using recycled ketchup bottles, so you can squeeze the paint out.


NEXT we tried the "car wash" baking soda and vinegar.
 Let them play in the baking soda as loooooong as possible, because the next step fizzles quick.
 The kids say their cars are cleaner than ever. So there is that. I'd rather do the old fashioned volcano with the baking soda and vinegar... Because it seemed like a huge waste of both products.


 Pinterest and I have been great partners the last few weeks. Oh my GOD this was delicious~ my 8 year old said "I am mad this is so...