9/8/15

 Pinterest and I have been great partners the last few weeks.
Oh my GOD this was delicious~ my 8 year old said "I am mad this is so good" (because he wanted to not like it) http://www.budgetbytes.com/2012/07/honey-balsamic-chicken-tenders/ The only modification I made was swapping the chicken for Turkey breast that I sliced.

My husband adored this. Olive Garden copy cat recipe http://www.cookingclassy.com/2013/11/olive-garden-copycat-minestrone-soup-slow-cooker/ I swapped the green beans for lima beans, and added quite a few more spices. Most importantly -> Trader Joe's 21 seasoning Salute - gave it a kick!

These lemon zucchini http://lilluna.com/glazed-lemon-zucchini-bread/ bread, was a little earthy for my tastes, but my children fought over the last one.  Even with the glaze it was obvious the zucchini was in there.

I made these carrot / zucchini muffins with the leftover zucchini.  I used the recipe for the lemon bread / minus the lemon, adding 1/2 cup brown sugar.

And here is the Alton Brown Challah Bread French Toast. http://www.foodnetwork.com/recipes/alton-brown/french-toast-recipe.html
Damn straight you've got to eat this.

These Black Bean Brownies give no clue they're healthy for you.  The beans are well hidden.  I've posted my modifications to this recipe:
http://www.mydarlinglemonthyme.com/2011/09/gluten-dairy-free-black-bean-chocolate.html

11/13/14

It's been a while

Hi!  

I've moved 2 times since August, 1 time across country, the next time across town.
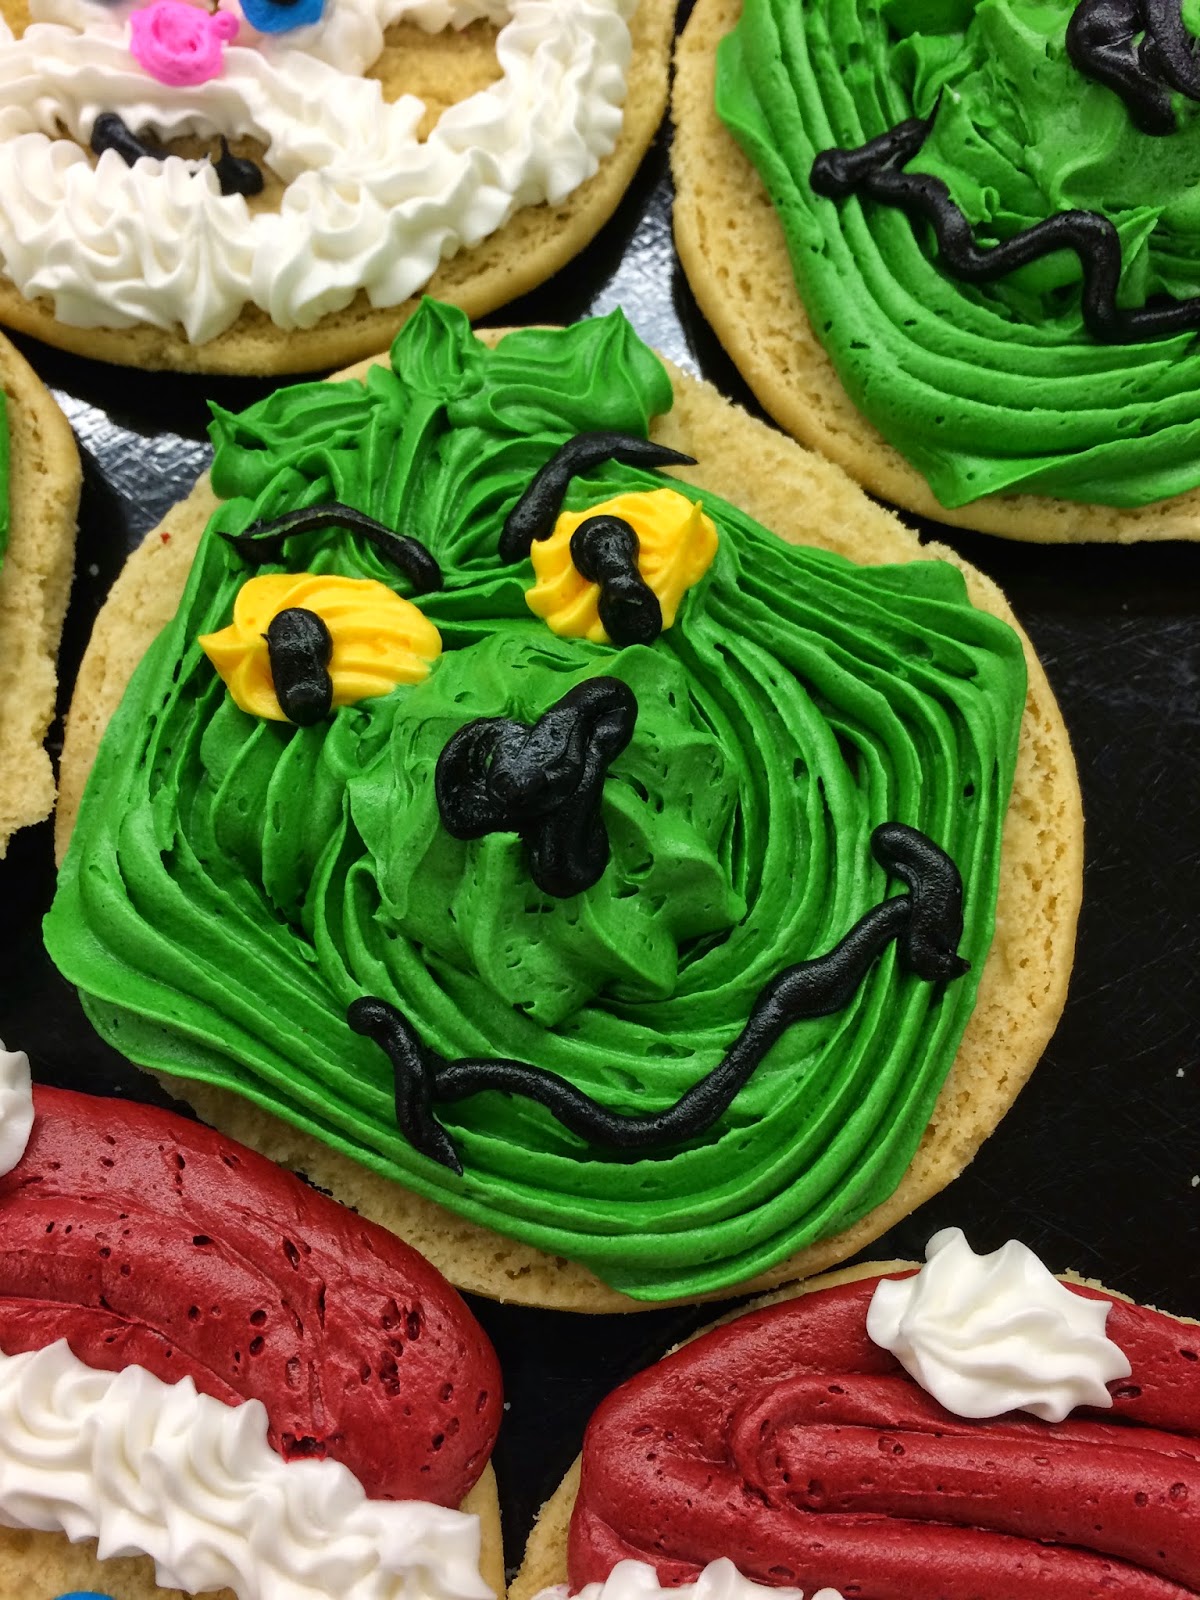
Still, managed to make a few things along the way.  When we got here, I stopped doing hair after 22 years and became a cake decorator.  With no formal training, I have heavily relied on Pinterest for inspiration.
Please enjoy.
Strawberry filled cupcake with Chocolate buttercream and a fresh strawberry drizzled with Ganache.

Chocolate cupcake, filled with Peanut butter whipped, topped with Peanut butter buttercream / chocolate buttercream swirl, and garnished with Reese's
 
Pinterest Inspired Cakes - See my board (https://www.pinterest.com/julietteVF/cake-inspirations/) to find the cakes that inspired me.
  Cakes I've come up with.


  This was FUN! Cupcake Cake
 Zombie Cookies
Brain cake. Pink Butter cream, Airbrush, bavarian cream, and cherry filling Mummy Cupcake Cake (pinterest)
My own    My own

 
 Custom Turkey Cake. Only 1 dowel (under beak)   Loved making this
Holiday Barbie.  5 Layers of cake for the dress.
 

  Fondant Covered Pumpkin
  Had leftover cake, Made a wreath...

10/26/14

If I could give one thing to the younger women of the world, it would be; 
Your body is amazing, just the way it is.
Curves, straight lines, either is perfect.

What Hollywood/Media portray is not ideal, it is morphed beyond 99% of what's possible.

Your body can create life -> you can make another human!  Because of this, your breasts will change, your hips will spread, your butt will follow. Embrace it.

If you feel beautiful, people will see beauty.

Wear clothes that fit you properly, and no matter what size you are, you'll look pretty.
Make up is camouflage if applied too liberally, let it accent you, not hide you.
Your butt, boobs, or belly do not have to be exposed to be 'hot'. In fact, what you leave to the imagination usually is more alluring. Accentuate, don't advertise.
When you look back at photos of yourself as you age, you'll regret having so many insecurities. Look in the mirror everyday, find what you like about yourself; ignore the things you think are imperfect, because, you are the only one who sees those things.
There will be moments where you find yourself wishing you could be ~ thinner, skinnier, taller, blonder, round faced, oval faced, curly hair, straight hair, smaller butt, bigger butt, bigger boobs, smaller boobs, flatter abs, curvier hips, smoother thighs... Open your ears; you'll hear similar complaints from other girls/women. You are flawless, because you are exactly the you you're supposed to be.

Finally, if you put on more weight than what makes _you_ comfortable, don't sweat it, realize you are a work in progress, and with progress comes change.

5/4/14

Sweet Potato Gnocchi

Sweet Potato Gnocchi 


So I got a wild hair and decided to make homemade Gnocchi.I followed the recipe I found here: http://www.vanillagarlic.com/2009/10/scratch-another-new-years-resolution.html 
BUT I changed the recipe a bit.  I omitted the russet potatoes completely, along with the maple syrup.  Really I was looking for a basic recipe, and had a difficult time finding one.

 His basic recipe is grand and I really followed it
Roll it out, chop into uniform pieces and boil for a few minutes                                                    (over boiling will result in TOUGH Gnocchi.  I promise. It's not good. Really.)
My modified version:

To be completely honest, I microwaved the sweet potatoes (about 4 minutes for the first, add 1 minute for each extra potato) Check for doneness when you take them out.

Mash the hell out of the potatoes. (after you remove the skin) 

Then add all of the other ingredients to the bowl.

Knead the dough until ingredients are mixed. (don't go crazy)

Flour your counter (or "surface") take a hunk of dough roll it into a snake shape (as pictured above) I placed my cut Gnocchi on a cookie sheet as I cut them.  For no reason, quite frankly.


2 pounds of unpeeled sweet potatoes
2 cups of all-purpose flour
1 egg
1/4 cup cottage cheese

1 teaspoon of kosher salt


Boil water, add gnocchi, when it rises to the top, turn off the stove, and grab a utensil to extract from the water.
If you boil these too long, man, they are tough!  

We topped them with Parmesan Cheese, and sauce for the boys, I added Shredded chicken, cilantro, and just a bit of sauce for me.

Enjoy!


Planet Activity

Lights ~ Ornaments ~ Planets!

Not quite sure how I stumbled upon this post from Play At Home Mom (http://www.playathomemomllc.com/2014/04/outer-space-orbit/ )
But, I followed her links to Amazon, purchased the globes and the lights, and today dragged it all out along with paints.

Perfect timing, as they finished learning the phases of the moon (because of the blood moon) and planets at school over the last 2 weeks.

We all had fun trying to make our visions come to life.  The 4 year old basically wanted them all blue, I talked him out of it, and we got a silver, red and pink one out of him.


a 
 You'll need Paint - we had a lot on hand in our art cabinet. Some of the tempura (silver) didn't stick well, sort of separated..but it looked cool when it dried.


You'll need these globes (which can be found at JoAnne's or Amazon.com)
ours came in a 12 pack
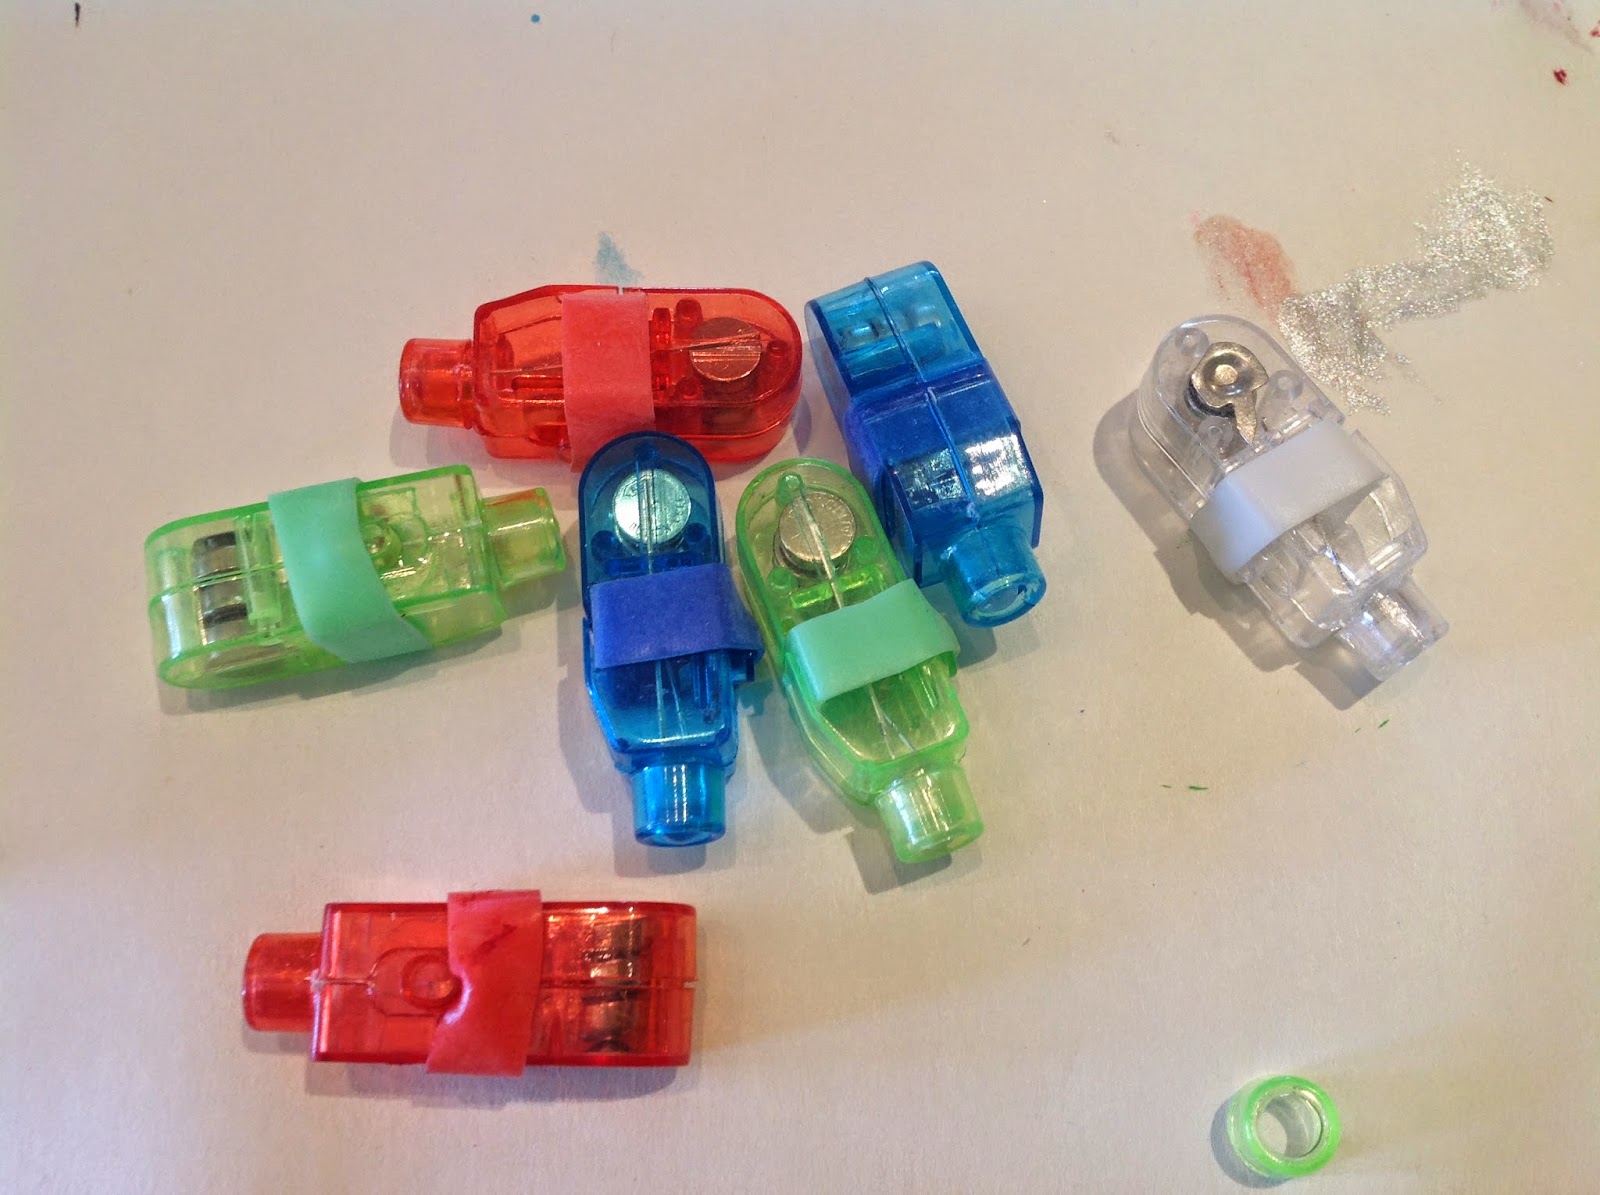
Then we bought these finger lights (half didn't work, but they were only about $3 so no complaints)


Paint, allow to dry.
Place a turned on light in globe, see planet come to life.


The 7 year old was focused on making his "look like planets" naming each one... Earth, Mars, Tatoine (ok that one is Star Wars related)
We had a great time making these, hope you do too.

1/22/14

Wild Kratts Creature Power Suit.


Have you heard of a show called Wild Kratts?
It is quite my favorite kids show, viewable on PBS, PBSkids.org 
if you haven't seen it, give it a gander.


My inspiration found on Etsy, alas it was discontinued :(  http://www.etsy.com/listing/103537722/discontinued-set-wild-kratt-inspired

Creature Power Suits!

I made a promise to my boys that I would make them Wild Kratts Creature Power Suits.  I dragged my feet, because I am not a huge sew-er.


Today I finally went over to Hobby Lobby and purchased some Polar Fleece (30% off!) ~ 2 yards of Black, 1/2 yard each of Blue, Green.  Probably could've done with just 1 yard of the black.

 Then I grabbed a shirt that I know fits my oldest and my youngest.  I snipped the fleece at the fold at the shoulder marks and at the bottom edges, then cut straight down to match.  After that I laid the red t-shirt under the cut fleece and cut the arms out.  
  
The only place I truly free cut was the neck line, and it worked out fine. As you see the only place you need to sew are the sides. 
After cutting the sides, I snipped out 2 large squares, 2 small squares, 
2 large rectangles and 2 small rectangles

  Then you'll need to cut 1 large and 3 small circles.  Again, I just free cut this, as it is only a costume, play dress up item, perfection was not my goal


 The green shown is finished, and the blue was in progress.  I hand sewed the small circles on because I wasn't thinking and waited until the sides were sewn to place them on. 
I'd recommend sewing the circles on with your machine before closing the seems on the vest.  It will make your life tremendously easier.

Also, this is VERY easy to hand stitch, as, I finished the blue one at their karate classes this afternoon.

 Sew on 1 square of velcro in the middle (pictured below) of the circle, and then add the opposing velcro to the back of the creature power discs, then they can change their characters easily!

My 2 very happy boys in their new creature suits.
Supplies = $19
All in all, a 2.5 hour project that put the best smiles on my boys.  Worth it.

 Pinterest and I have been great partners the last few weeks. Oh my GOD this was delicious~ my 8 year old said "I am mad this is so...